
Summary:
You’ve probably stood in front of your grandmother’s china cabinet or that glass coffee table wondering how you’re supposed to get it to your new place in one piece. Packing fragile items isn’t something most people do regularly, and the stakes feel high when you’re dealing with things that can’t be replaced. The good news is that protecting your belongings during a move doesn’t require magic—just the right materials, a bit of time, and techniques that actually work. This guide will show you how to pack like someone who’s done this before, so your furniture and fragile items arrive exactly how they left.
How to Pack Fragile Items for Moving

Fragile items need more than just tossing them in a box with some newspaper. You’re looking at glassware, dishes, picture frames, electronics, ceramics—anything that could crack, chip, or shatter if it gets jostled around. The key is creating enough cushioning that the item can’t move inside its wrapping, and the wrapping can’t move inside the box.
Start by gathering actual packing materials. Bubble wrap, packing paper, and sturdy boxes are non-negotiable. You can supplement with towels or blankets for larger items, but tape sticks better to bubble wrap than fabric, which matters when you’re trying to keep everything secure. Small boxes work better for heavy fragile items because they’re easier to handle and there’s less room for things to shift around during transport or storage.
Wrapping Techniques That Actually Protect Your Breakables
Here’s where most people either overdo it or don’t do enough. Each fragile item should be wrapped individually—never let two pieces of glass or ceramic touch each other inside a box. For dishes and plates, place a sheet of packing paper or bubble wrap between each one, stack four to five together, then wrap the entire stack and secure it with packing tape.
Glassware and stemware need special attention. Stuff the inside of each glass with crumpled packing paper first. Then wrap the outside with at least two layers of bubble wrap, making sure the bubbles face away from the glass surface. If bubbles touch glass directly, they stick and become difficult to work with. For wine glasses or anything with a stem, wrap extra material around that narrow part until it’s roughly the same width as the rest of the glass. This prevents the stem from snapping under pressure.
When it comes to electronics like TVs or computer monitors, use the original boxes if you still have them. If not, wrap screens in bubble wrap first, then cover that with a thick towel or moving blanket. Secure everything with packing tape or bungee cords so nothing slips during the move. Remove all cables beforehand, wrap them separately, and label where each one goes. Taking a photo of the back of your TV before unplugging everything saves a lot of confusion later.
Picture frames and mirrors need a different approach. Wrap them in bubble wrap, then use cardboard sheets on both sides for extra protection. Always transport these items upright, never flat. Some people use painter’s tape to create an X across the glass—it won’t prevent breaking, but it does minimize shattering if something goes wrong. For valuable or oversized artwork, you might want to skip the DIY route entirely and let professionals handle it.
The double-boxing method is worth the extra effort for your most delicate items. Pack the wrapped item in a smaller box with cushioning material, then place that entire box inside a larger one with at least three inches of padding on all sides. It sounds excessive until you remember that your boxes will be stacked, shifted, and moved multiple times before reaching your new home—or if you’re using storage between locations in Long Island, NY, they might be handled even more.
Choosing the Right Packing Materials for Different Items
Not all packing materials do the same job. Bubble wrap is your go-to for glassware and ceramics because it provides cushioning and structure. Packing paper works well for wrapping items and filling empty spaces in boxes. Packing peanuts are great for absorbing shocks during transit, though they can be messy. Foam pouches handle small delicate items like figurines. Corrugated dividers are perfect for keeping glasses and plates separated so they never make contact.
For furniture, moving blankets and furniture pads are essential. These thick protective covers shield wood surfaces, upholstery, and frames from scratches, moisture, and dust. Stretch wrap works well for bundling furniture parts together or keeping drawers from sliding open mid-move. Furniture pads—those felt discs you stick under table legs—let you slide heavy pieces across floors without leaving gouges or scratches behind.
You’ll also need more packing tape than you think. Reinforce the bottom of every box with at least two or three strips of tape along the seams. Boxes that seem fine when empty can split open under weight if they’re not properly sealed. Use tape that’s specifically labeled as packing or sealing tape—other types don’t bond well to cardboard and can fail when you need them most.
Don’t overlook the small stuff. Permanent markers for labeling, scissors or a box cutter for opening packages, and plastic bags for grouping small items all make the process smoother. If you’re planning to use storage between moves, having the right materials from the start means your belongings stay protected whether they’re in transit or sitting in a unit for weeks.
One more thing about materials: you can use household items like towels, blankets, and clothing as padding, and it does save money. Just know the limitations. Towels work great for wrapping large flat items like TVs, but they don’t provide the same structured protection as bubble wrap for something fragile. Use them strategically, not as a complete replacement for proper packing materials.
How to Protect Furniture When Moving
Furniture takes up space, weighs a lot, and shows every scratch or dent. Protecting it starts before you even wrap anything. Disassemble what you can—bed frames, table legs, removable shelving. It’s easier to move through doorways, takes up less space in the truck or storage unit, and reduces the chance of something breaking. Keep all hardware in labeled plastic bags taped to the corresponding furniture piece so you’re not hunting for screws later.
Before moving furniture out the door, wrap every piece in moving blankets or furniture pads. This protects both the frame and any upholstery from moisture, dust, and the inevitable bumps that happen during transport. Secure the blankets with stretch wrap or packing tape, making sure everything stays in place. For wood furniture, pay extra attention to corners and edges—those are the first places to show damage.
Packing Tips for Moving House Room by Room
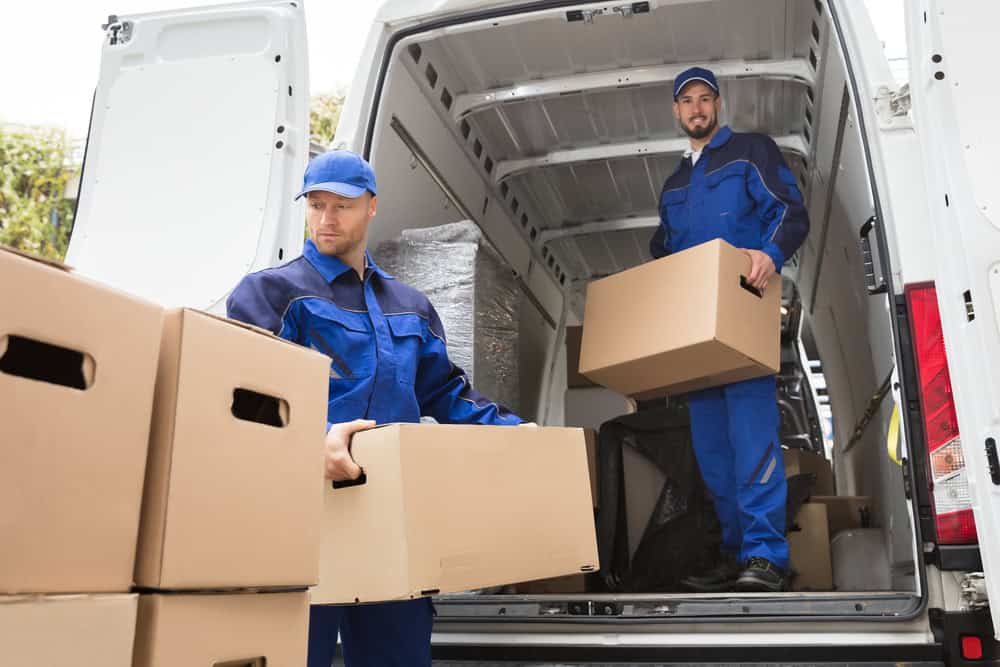
The biggest mistake people make is trying to pack everything at once. Start with the rooms you use least—guest bedrooms, home offices, formal dining rooms. These spaces usually contain items you won’t need in the weeks leading up to your move, which means you can pack them early without disrupting your daily life. Work through one room completely before moving to the next. This keeps you from having half-packed boxes scattered everywhere and makes it easier to label accurately.
Pack similar items together and keep them in the same box when possible. All your bathroom toiletries in one box, kitchen gadgets in another. This makes unpacking in your new place much faster because you can send each box directly to its destination room. The kitchen often takes the longest because of all the breakables and the fact that you’re using most of those items right up until moving day. Plan to pack the kitchen last, but give yourself enough time to do it properly.
Create a separate box or bag of essentials—things you’ll need immediately in your new home before you’ve had a chance to unpack everything. Toiletries, a change of clothes, basic kitchen items, important documents, phone chargers, medications. Keep this with you during the move rather than loading it on the truck. You’ll be glad to have it when you’re exhausted on day one and don’t want to dig through twenty boxes looking for a toothbrush.
Label every single box, and be specific. “Kitchen” doesn’t help much when you have fifteen kitchen boxes. “Kitchen – pots and pans” or “Kitchen – glassware – FRAGILE” tells you and anyone helping you move exactly what’s inside and how to handle it. Write on multiple sides of each box so the label is visible no matter how it’s stacked. Use a thick marker that won’t smudge or fade. Some people use color-coded labels for different rooms, which speeds up the unloading process whether you’re going straight to your new home or into a storage facility.
When you’re loading boxes, remember the same rule that applies to packing: heavy items on the bottom, lighter and more fragile items on top. Don’t stack fragile boxes under heavy ones in the truck. This becomes even more important if you’re using storage in Long Island, NY between moves, since your belongings might be moved multiple times before reaching their final destination.
Storage Packing Tips for Long Island Moves
Sometimes your move doesn’t happen all at once. Maybe your new place isn’t ready yet, or you’re downsizing and need somewhere to keep belongings temporarily. Storage adds another layer to your packing strategy because your items need to survive not just the move, but potentially weeks or months sitting in a unit.
Everything going into storage should be packed as if it’s making a long-distance move. That means proper wrapping, sturdy boxes, and clear labeling. Cardboard boxes can weaken over time, especially in humid conditions, so reinforce the bottoms and don’t overpack to the point where boxes bulge. If you’re storing furniture, make sure it’s completely wrapped in moving blankets or furniture pads to protect against dust and potential moisture.
Climate-controlled storage is worth considering for certain items. Electronics, musical instruments, photographs, important documents, and anything sensitive to temperature or humidity changes should be kept in a controlled environment. Long Island summers get hot and humid, and those conditions can warp wood, damage electronics, and affect photo paper. If you’re storing valuable or irreplaceable items, the extra cost of climate control is usually worth it.
Think about access when you’re packing for storage. Put items you might need to retrieve toward the front of the unit, and things you definitely won’t need in the back. Create an inventory list of what’s in storage and which boxes contain what. It sounds tedious, but it saves massive frustration if you need to find something specific three weeks into storage.
Don’t pack items directly on the floor of a storage unit if you can avoid it. Use pallets or shelving to keep boxes elevated in case of any moisture issues. Leave a small amount of space between boxes and walls for air circulation. And never store anything valuable or irreplaceable without proper insurance coverage—most standard policies don’t fully cover items in storage.
Get Your Move Done Right
Packing doesn’t have to be the most stressful part of your move. When you know which materials to use, how to wrap different types of items, and how to organize everything so it actually makes sense on the other end, the whole process becomes manageable. Start early, work through one room at a time, and don’t cut corners on the items that matter most to you.
The techniques in this guide are the same ones professional movers use every day. They work because they’re based on protecting items through multiple stages of handling, not just getting them into a box. Whether you’re a href=”https://www.dunbarmoving.com/moving-services/”>moving across Long Island, NY or need storage solutions while you transition between homes, proper packing makes all the difference.
If you’d rather hand this off to people who do it for a living, we have the experience and equipment to pack, move, and store your belongings with the care they deserve. Sometimes the best packing tip is knowing when to let the professionals handle it.